
A built-in coffee bar is the one piece of a shop you cannot fix later. The espresso machine can be swapped, the menu can be rewritten, the furniture can go on the sidewalk — but the millwork your baristas stand behind is bolted to plumbing and electrical rough-ins set during the build. Get the station order wrong and you pay for it in seconds per drink, every drink, for as long as the lease runs.
This is about the bar unit itself: what goes where along the counter, how high each surface sits, what has to be in the wall behind it, and where customers collect their drinks. Four steps, in the order a builder needs them.
What goes into the bar is a separate decision, covered in the coffee bar equipment list — and the biggest single item in it, the espresso machine class you choose, determines the power and water you need to rough in here. Settle that before the millwork is drawn.
Key Takeaways
- Lay the bar out in workflow order (order, grind, extract, steam, finish, hand off) so no drink doubles back on itself.
- ADA requires the accessible portion of a sales and service counter to be no more than 36 inches above the floor, while typical hospitality counters run 42–44 inches. You need both heights on one bar.
- Power and water rough-ins are the irreversible part. A two-group machine commonly needs a dedicated circuit and a drain within reach of where it sits.
- Give the pickup handoff its own stretch of counter away from the register, or your waiting customers will block your paying ones.
Boost customer satisfaction with just a few clicks
Most-Loved Features:
- On-demand drivers
- Real-time GPS tracking
- Delivery confirmation photos
- Over 50% of customers report a smoother delivery experience
Step 1: Lay the bar out in workflow order
Sequence the stations along the counter the way a drink is actually made: take the order, grind, extract, steam, finish, hand off. A barista should move in one direction from the start of a drink to the end of it, never back past a station they’ve already used.
The reason this matters is that the steps are not equally long. Milk steaming is the slowest manual step in a latte, so the steam wand and the milk fridge want to be adjacent — undercounter refrigeration directly beneath the wand, so a pitcher is filled without a step taken. The grinder wants to be within arm’s reach of the group head, because the gap between grinding and tamping is dead time repeated hundreds of times a shift.
Two layout patterns cover most shops:
- A single straight run works where the bar is against one wall and the shop is narrow. It is simple to build and it forces good sequencing, but it limits you to one barista at a time without collisions.
- An L or a parallel back bar puts customer-facing work on the front counter and support work (brewers, warewashing, prep, backup stock) on the back. This is what lets two people work the bar during rush without crossing each other.
Whichever you choose, mark the aisle before you mark the equipment. A working aisle behind the bar needs about 36 inches clear for one barista and closer to 42–48 inches where two people pass each other with hot liquid.
Plan bean storage into the same run while you’re at it. Sealed whole-bean stock belongs in a closed cabinet near the grinder rather than on an open shelf in daylight, and if you intend to sell retail bags of the coffee you’ve chosen to serve, that display needs its own shelf on the customer side — not the top of the espresso machine.
Step 2: Get the heights right, including the ones the law sets
A built-in coffee bar has three different working heights on it, and the common mistake is building it all at one.
The regulated one comes first. Under the ADA standards, the accessible portion of a sales and service counter must be no higher than 36 inches above the finished floor, and a parallel-approach section must be at least 36 inches long (ADA-ABA Guidelines, Section 904.4, retrieved 2026-10-02). Where a section uses a forward approach instead, it needs at least 30 inches of length with knee clearance of 27 inches high by 30 inches wide beneath it, plus 9 inches of toe clearance.
That is a good deal lower than how most hospitality counters get built. Typical retail and hospitality counters land around 42–44 inches, which is comfortable to stand at and tall enough to hide the working mess behind it (American Specialties, retrieved 2026-10-02). So the practical answer is a stepped counter: a 42–44 inch front face for most of its length, with a 36-inch accessible section at least 36 inches long where the transaction happens.
Behind that front face, the barista’s work surface is its own number:
- Work surface: 36 inches. Standard counter height, which is what espresso machines, grinders, and brewers are designed to be used at.
- Counter depth: around 24 inches. Deep enough for a machine and a working margin, shallow enough to reach the back of without leaning onto hot metal.
- Overhead shelving: 15–18 inches above the work surface. Cups and backup stock within reach without blocking the sightline to the customer.
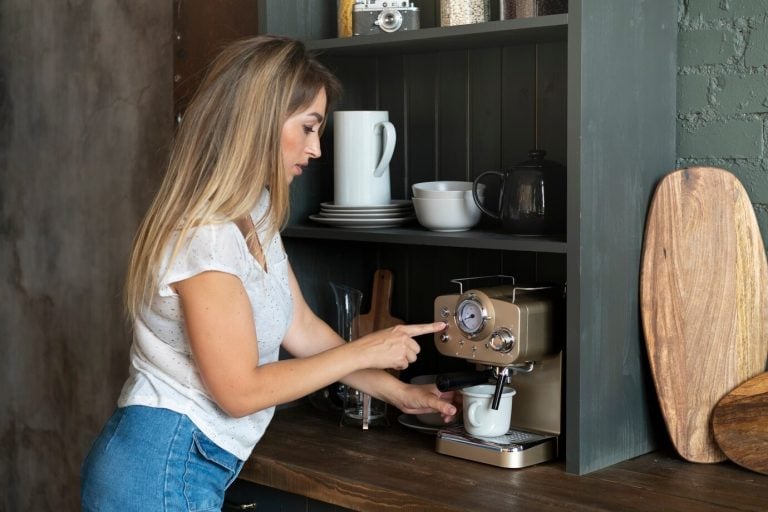
Check the espresso machine’s actual height before you fix the work surface. A tall multi-boiler machine on a 36-inch counter can put the portafilter awkwardly high and the top of the machine out of reach for cleaning; some shops drop the machine’s section of counter two or three inches for exactly this reason.
Step 3: Rough in power, water, and drainage before anything closes up
This is the step with no second chance. Everything else on the bar can be rebuilt over a weekend; services inside a wall or under a slab cannot.
What the bar needs behind it:
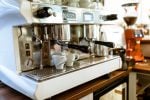
- A dedicated circuit for the espresso machine. Two-group commercial machines commonly need 20–30 amps and in many cases 220V. This is not a circuit you share with the blender.
- Separate circuits for the heat loads. Batch brewer, ice machine, and blender each draw hard and each should be on its own run so a smoothie order doesn’t trip the espresso machine mid-rush.
- A filtered water line to the machine position. Water filtration goes in before the machine is commissioned, not after the first scale problem, and it needs somewhere to live — usually undercounter, which means it needs that cabinet space planned.
- A drain within reach of the machine and the knock box. Direct-plumbed machines drain continuously. If the drain is six feet away, you will own a floor-level problem forever.
- Floor drains where your health department requires them. Sinks need drains and drains need to be in the slab. Finding out after the concrete is poured that you need another sink is demolition, not a purchase.
Get the equipment list in front of plan review before the millwork is fabricated. The inspector’s requirements for handwash sinks, three-compartment warewashing, and sometimes a mop sink will change the length of your bar, and it is far cheaper to learn that on paper.
One more rough-in worth arguing for while it’s free: a data drop and power at the pickup end of the counter. If you ever add a screen for mobile orders, you’ll want it there, and running it later means lifting the countertop.
Step 4: Give the handoff its own counter
Put the pickup point at the far end of the bar from the register, with its own clear stretch of counter. The single most common failure in an otherwise well-built coffee bar is that paying customers and waiting customers end up standing in the same square metre.
The handoff is also where delivery and mobile orders either flow or jam. Out-of-home coffee consumption among past-day drinkers reached 38% in the NCA’s 2026 data, the highest since January 2020, and a meaningful share of that arrives as an order placed before the customer does (NCA, reported by Convenience.org, retrieved 2026-10-02). Couriers and app customers behave differently from walk-ins: they arrive knowing what they’re collecting, they don’t queue, and they want to be in and out.
What that means for the millwork:
- A dedicated shelf or counter run of 24–36 inches for completed orders, visible from the door so nobody has to ask.
- A position that doesn’t cross the service aisle. A courier reaching across the barista’s working path is the handoff designed wrong.
- Lids, sleeves, and a condiment station sited with the pickup, not at the register, so finished-drink traffic stays at the finished-drink end.
- Room for bagged orders. A single cup fits anywhere; four cups in a carrier plus a pastry bag needs real surface.
If the shop is small enough that one counter has to do everything, separate the functions in time rather than space: stage mobile and delivery orders behind the bar and hand them over on request, rather than letting a pickup shelf swallow the ordering counter.
Materials that survive a commercial bar
Specify surfaces for water, heat, and abrasion, because a coffee bar is a wet environment with hot metal on it eight hours a day.
- Stainless steel for the work surface, around the machine, and anywhere near the knock box. It takes heat, takes a scrub, and sanitises properly.
- Solid surface or quartz for the customer-facing counter, where appearance matters and liquids are occasional rather than constant.
- Sealed or coved flooring behind the bar, with a coved base at the wall junction. Most health codes require it and every mop in your future will thank you.
- Not butcher block or untreated wood on the wet side. It looks right in photographs and fails in a year.
Frequently asked questions
How deep should a built-in coffee bar counter be?
About 24 inches for the barista’s work surface, which matches standard countertop depth and fits an espresso machine with working margin in front of it. Customer-facing counters can be shallower; pickup counters benefit from the full depth so bagged orders have somewhere to sit.
What height should a commercial coffee bar be?
Build a stepped counter: 42–44 inches for the front face, a 36-inch-high accessible section at least 36 inches long where transactions happen, and a 36-inch work surface behind it for the equipment. The accessible height is a requirement, not a preference.
Can you build a coffee bar into an existing counter?
Sometimes, if the existing run has the depth and the services are reachable. The constraints are almost always electrical capacity and drainage rather than the carpentry — a counter is easy to modify, a dedicated 220V circuit and a new drain are not.
What goes wrong most often in a built-in coffee bar?
Station order. A bar where the milk fridge is not under the steam wand, or the grinder is not beside the group head, costs a few seconds per drink and cannot be fixed without rebuilding the cabinetry.
Before you sign the drawings
Walk the layout with a barista before it’s fabricated. Tape the stations onto the floor at real dimensions, make ten imaginary lattes, and count the times you turn around. Every pivot you find on the tape is one you would otherwise have built into the millwork.
Then confirm three things with the drawings in hand: the electrical and water rough-ins match the machine you actually intend to buy, the accessible counter section is in the plan rather than an afterthought, and the pickup end has enough counter to hold a busy morning’s finished orders — including the ones nobody is standing there to collect yet.